SweetAllium
  • Blog
  • About
  • Projects
  • Gallery
  • Connect

Bacon, Feta and Butternut Squash Omlette Muffins

2/27/2014

1 Comment

 
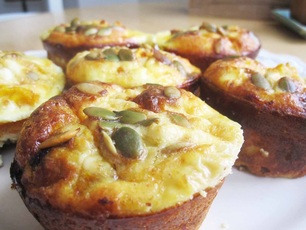
PictureBacon, Feta and Butternut Squash Omlette Muffins
Ok, kids. I've caved. I've become one of those food bloggers who features bacon prominently and probably unnecessarily. It's a bit of a savvy blogging tactic, I think--a little pandering for clicks, perhaps. It's just that bacon is so sexy.

Really though, the meat of this recipe is the fact that it's super low carb, comes in a cozy little package and is very adaptable. As for the bacon, you can take it or leave it.


Variations on this recipe that I've tried include:
  • Roasted Roots with Spicy Italian Chicken Sausage
  • Winter Veggies with Sharp Cheddar and Pecorino Romano
Obviously, this can easily be adapted to fit your diet/lifestyle needs. I've included the pictured recipe, as well as a generic recipe below.

Big thanks to my colleague, Desta Golden, for supplying me with this brilliant low-carbohydrate idea via our Diabetes Management class. Watch out Virginia, Mrs. Golden is headed your way in a couple years!

Picture
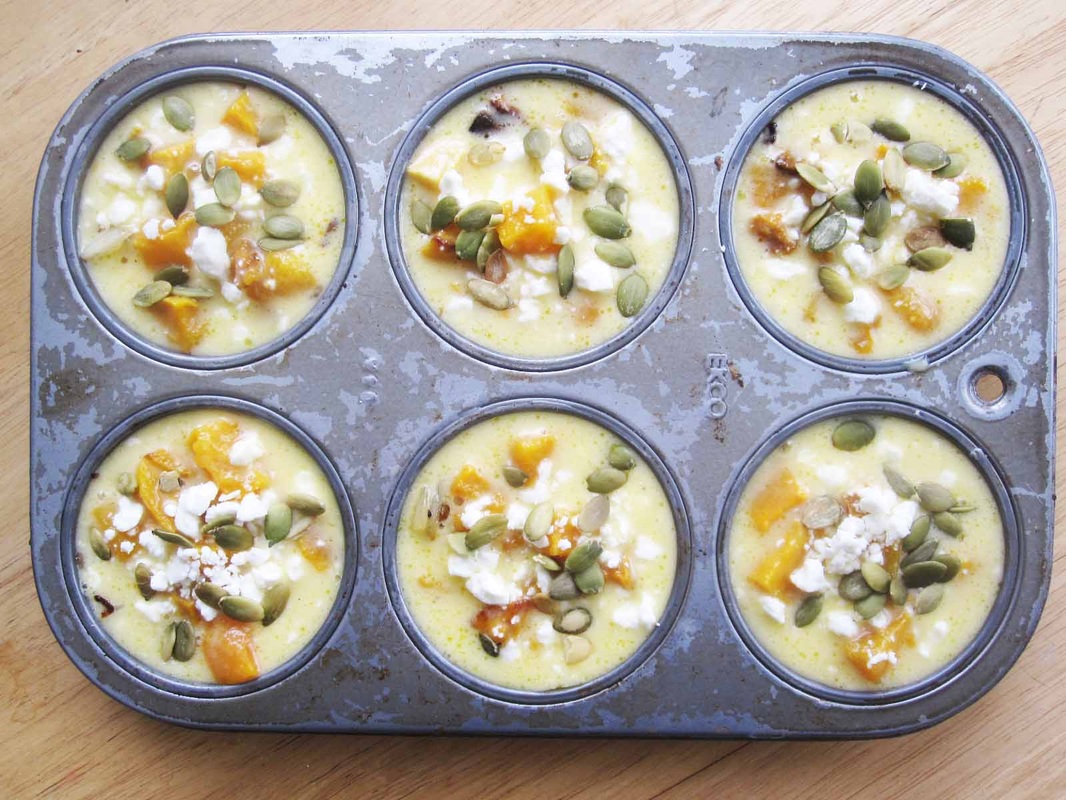
Prepped, but unbaked Bacon, Feta and Butternut Squash Omlette Muffins
Serving Size: 2 muffins
Carbohydrates: 7g
Fiber: 1g

Bacon, Feta and Butternut Squash Omlette Muffins
(GF, low lactose, low GL)

3 bacon strips, uncooked, chopped
1 small onion
5 eggs, beaten
2 tablespoons plain whole milk yogurt
black pepper
nutmeg
3/4 cup butternut squash, cubed and roasted with salt
1/4 cup feta cheese, some reserved for topping (I used goat milk feta)
2 tablespoons pumpkin seeds

Preheat the oven to 350˚F. Fry the bacon and onions together until the bacon is fully cooked and the onions are clear or slightly browned. While they are cooking, combine the eggs, yogurt, black pepper and nutmeg and whisk together until completely incorporated. Fold in the squash and feta and set aside. Grease 6 muffin cups with butter or coconut oil, then spoon the cooked onions and bacon, pour the egg mixture over this until the liquid almost fills each muffin cup. Top with the reserved feta and the pumpkin seeds and pop this pretty mess into the oven. Bake until the tops are golden and the center is springy, about 20-30 minutes.

Omlette Muffins: Choose-Your-Own-Adventure Style (GF, possibly: vegetarian, low GL, lactose free)

5 eggs, beaten
2 tablespoons plain whole milk yogurt
black pepper
nutmeg
1 cup cooked veggies (pick your faves!)
1/4 cup cheese, some reserved for topping (completely optional)
2 tablespoons chopped nuts or seeds for garnish (optional, but why not?)

Preheat the oven to 350˚F. Combine the eggs, yogurt, black pepper and nutmeg and whisk together until completely incorporated. Fold in the veggies and/or cheese and set aside. Grease 6 muffin cups with butter or coconut oil, and fill them 7/8ths full with the egg mixture. Top with the reserved cheese, seeds or nuts and pop this pretty mess into the oven. Bake until the tops are golden and the center is springy, about 20-30 minutes.
Picture
Bacon, Feta and Butternut Squash Omlette Muffins, just begging to be eaten
1 Comment

Deli-Style Nutmeats: chorizo and finocchiona nut sausage

2/19/2014

0 Comments

 
Picture
Let's ruminate on fake meats for a moment. Depending on the brand, they're either outlandishly pointless or, actually, kind of tasty. Aside from picking out the right package from the freezer section, the other tricky part about fake meats is that they are very processed, forcing vegetarians, vegans and a few fake meat lovers into a quagmire of gums and modified starches if they just want some good salty spice and a decent mouthfeel. Despite these potential pitfalls, sometimes a girl just wants some non-meat chorizo, am I right?

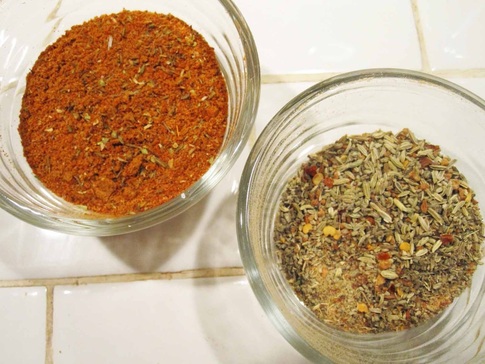
Well, here’s a sweet DIY vegan and gluten free nutmeat that's full of protein and flavor, made only from real, down-to-earth ingredients--in two traditional sausage flavors: chorizo and finocchiona. The fun and challenge of this cooking project is that it requires some elbow grease. Soaked nuts and simmered mushrooms are muddled to get the right meat grinder texture. But it's ok, the exercise and the ensuing protein-packed meal will put you on track for some bangin' triceps.

Deli-style Nutmeats (Vegan, Gluten Free, Low Glycemic Load)

6 cups water
1 cup almonds
1 cup cashews
3 tablespoons salt
1 lb mushrooms (any kind)
Spice mix (choose one from below)
3 tablespoons apple cider vinegar
Chorizo Mix
1 tablespoon cumin, ground
1 teaspoon coriander, ground
5 whole cloves, ground
2 bay leaves, ground
1/2 teaspoon black pepper, ground
1/4 teaspoon cinnamon, ground
1/2 teaspoon oregano
1/2 teaspoon thyme
1 tablespoon powdered garlic
2 tablespoons paprika
1/2 teaspoon cayenne powder
2 teaspoons sea salt

Finocchiona Mix
2 tablespoons fennel, crushed
1 tablespoon powdered garlic
1 tablespoon rubbed sage
1 teaspoon black pepper, ground

1/4 teaspoon red pepper flakes
1 1/4 teaspoon paprika (for color)
2 teaspoons sea salt
Picture
Picture
Start this recipe at least 6 hours ahead of time by soaking the almonds in the water and salt. After two hours, add the cashews and soak for a few more hours, (but no more than 6, or the cashews will get a little slimy). Slice the mushrooms finely and simmer until they are limp. Add the drained nuts to the simmering mushrooms and reduce until almost all the water evaporates.

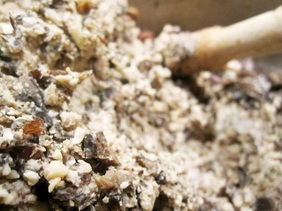
Next, roll up your sleeves, get out your muddler, and muddle those bad boys until you get a sticky consistency that looks a little like ground meat. This step takes some dedication and it's ok to take a break. When you've muddled the whole batch, give yourself a high five, and incorporate the spice mixture and the apple cider vinegar into the muddled nuts.

Picture
Use these nutmeats anywhere you would use sausage--nacho topping, squash stuffing, taco building, frittata filling--you get the idea. They brown nicely in a frying pan, but won't hold together like a sausage patty.

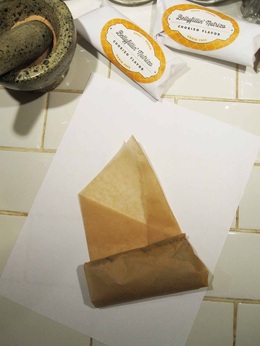
To save for later, divide quarter cup portions of the nutmeat and wrap these little morsels in parchment paper. Sealed in a plastic bag, these nut sausages will last months in the freezer, and are super handy for  tasty last-minute meal ideas.

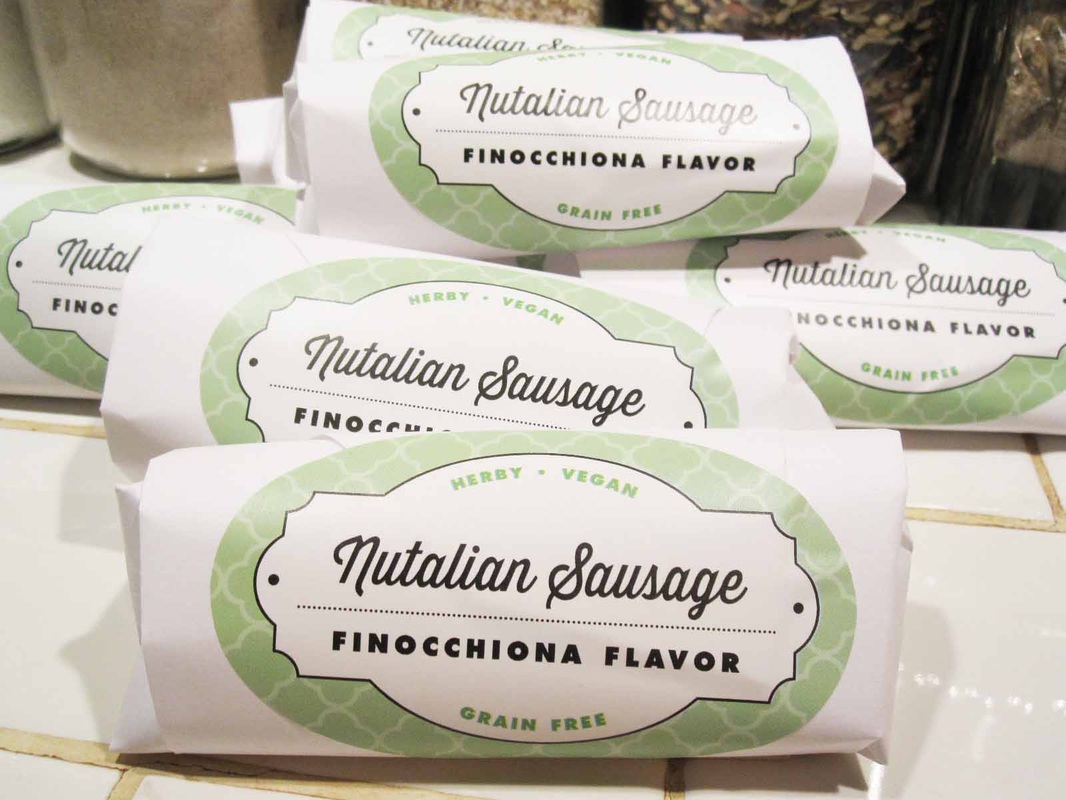
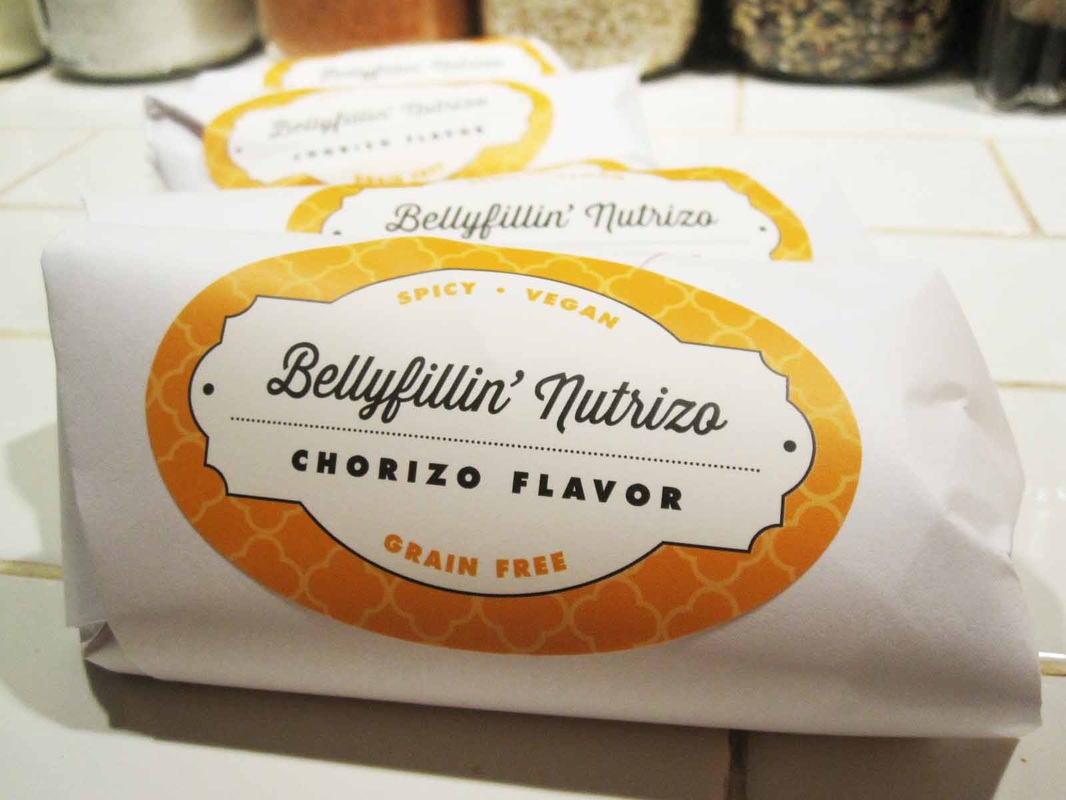
I packaged these up into pretty gifts that look fresh from the neighborhood deli, by using parchment paper, printer paper and some rad custom labels from a sweet Portland-based company called Evermine (which also happens to be the entrepreneurial pride and joy of my parents, Jeanne and David).

Picture
0 Comments

Cozy Cocoa

2/11/2014

0 Comments

 
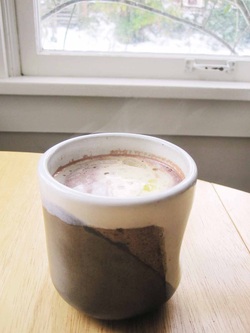
PictureHot cocoa overlooking a snowy backyard
The snowy dreamland that was Portland this past week prompted some delightfully cozy activities, like bundling up for long crunchy walks, mulling wine, napping all day, and of course, hot cocoa.

Ever since I started eating a little healthier a few years ago, hot chocolate repeatedly proved itself a disappointment. The coziness it could instill was never worth how weird and gross I felt afterward, so I was really ok with the idea of giving up hot cocoa forever. I figured I had outgrown it, the way I outgrew other childhood activities like watching other people play video games, or playing the impressively uninventive two-person card game called War.

Recently, though, my sister gave me a small package of stone ground mexican-style dark chocolate and told me how to make it into hot cocoa. I liked it, and aside from a boost in coziness, I felt totally normal afterward. But, I didn't realize just how good it was until a few days ago when I served it to a friend who "mmm"-ed over it and said, "Oh my god, I love you. This is so good." So maybe it's worth sharing, yes?

I'm not one for cooking from packages, in general, or certainly not showcasing it on the internet, but in this case, I think it makes some sense. A couple pieces of the Mexican-style stone ground chocolate, made by TAZA Chocolate, provides the cocoa and sugar in a refreshingly not-too-sweet ratio (while helping to keep us from over-adding sugar to the mix). Add this to boiling water in single serving cup with cream and it's as quick as a package of the 'Miss, but way tastier. I like to add cream instead of milk because it's easier on folks who are sensitive to lactose, like me and many of my guests.

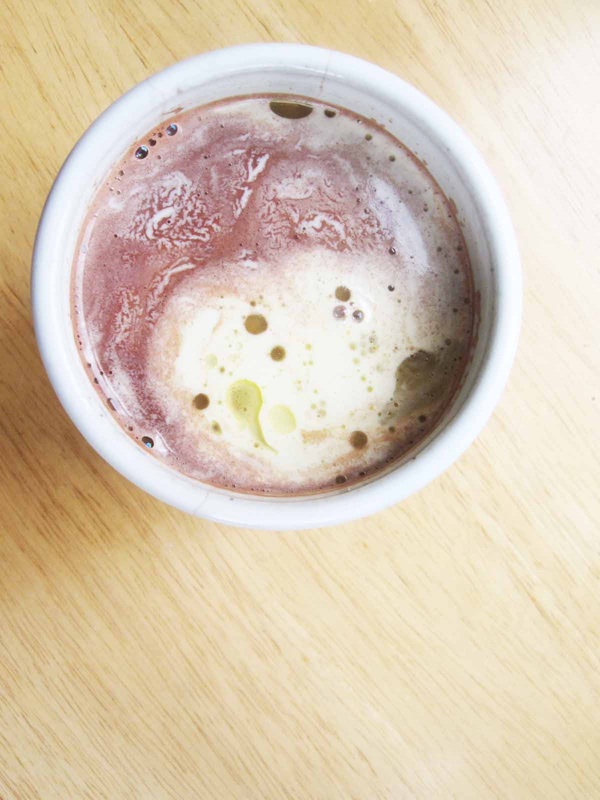
The cocoa pictured below contains a dollop of cream that had just barely turned to butter in the carton. Yum!


Picture
Simple and real hot cocoa
Serving Size: 1 recipe
Carbohydrates: 4.5 g
Fiber: 0 g

Cozy Cocoa (GF, low GL)

1/3 oz Mexican-style dark chocolate (that's 2 chunks if you're using TAZA)
8-10 oz water (to be boiled) plus hot tap water
2 tablespoons cream, coconut milk or alternative milk
vanilla, chipotle, cinnamon, ginger, cayenne or nutmeg (optional)

Put a pot or kettle of water on to boil. In the meantime, fill a mug with hot tap water and set aside. Once the water is boiling, empty the mug, place the chocolate into it, and pour boiling water over the chocolate. Stir with a warmed spoon until the chocolate has completely melted. Add the cream/milk and any other spices you'd like and enjoy!
0 Comments

    Author

    Lorraine Ferron is a medical student, writer, and food lover. Read more about her at SweetAllium's About page.

    Archives

    August 2014
    May 2014
    April 2014
    February 2014
    November 2013
    October 2013
    July 2013
    June 2013
    May 2013
    April 2013
    March 2013
    February 2013
    January 2013

    2011-2012

    Categories

    All
    Classical Chinese Medicine
    Gluten Free
    Herbal Preparations
    Herbal Preparations
    Lactose Free
    Low GL
    Low Glycemic Load
    Medicinal Herbs
    Med School
    Naturopathic Medicine
    Recipes
    Vegan

    RSS Feed

    Blogroll

    thelocalspoon
    101 cookbooks
    Licking the Plate
    wild heart medicine
    Maximum Wellness
    BeKindTellTheTruthEatGoodFood
    Our Global Kitchen
    HellaDelicious
    Nectar
    Not Without Salt
    Civil Eats
    Edible Portland
    Smitten Kitchen

Powered by Create your own unique website with customizable templates.