SweetAllium
  • Blog
  • About
  • Projects
  • Gallery
  • Connect

Bone Broth

6/10/2015

0 Comments

 
Picture
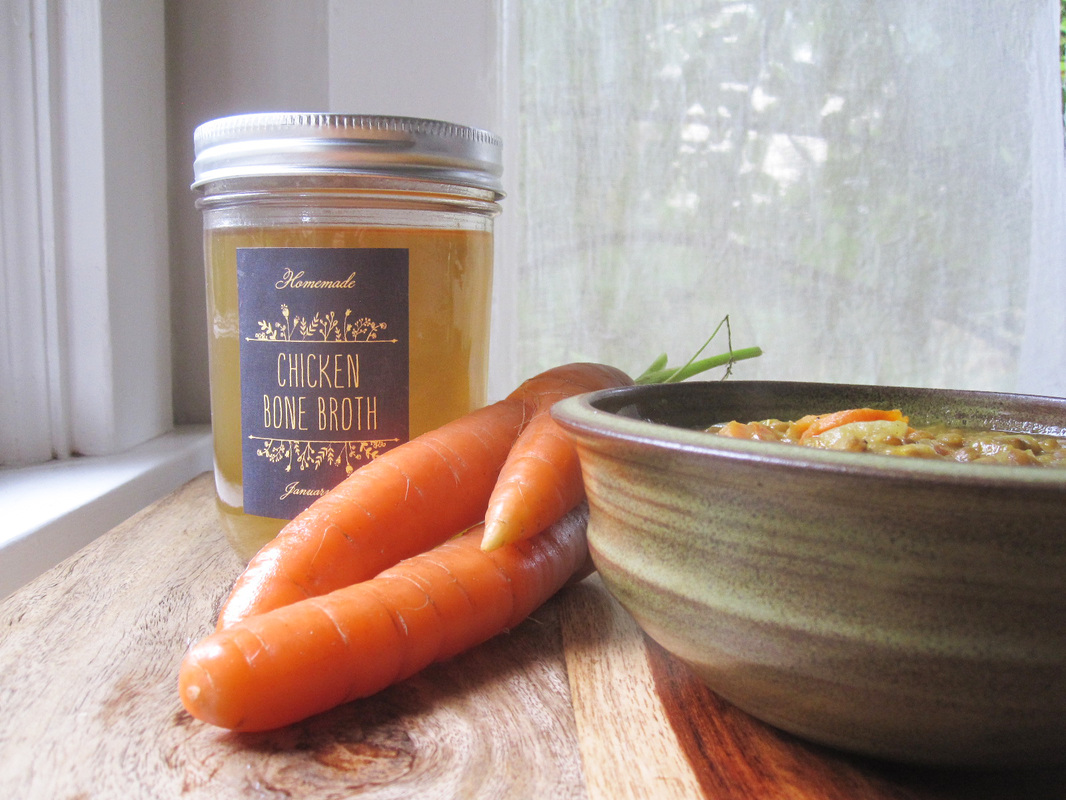
I spent this past Saturday morning at the Hollywood Farmers Market here in Portland, Oregon, doing a cooking demonstration about delicious, nutritious bone broth. See, I’ve been making bone broth (also called stock) for a couple years now, and it wasn’t until I spent a few minutes with a book called Nourishing Broth by Sally Fallon Morrel and Kaayla T. Daniel, that I realized how much more there was to know about bone broth—how it can be used therapeutically for a variety of specific conditions, and how it changes depending on the bones, the species and cooking time. I shared some of my new knowledge at the market, along with an original recipe for dog biscuits that use the long-cooked softened bones as an ingredient.

Here’s a couple basic recipe for bone broth that you can make at home. Stay tuned for Doggy Biscotti!


Bone Broth - Slow Cooker or Stove Top

bones of chicken, lamb or beef
water to cover
about 1/4 cup apple cider vinegar to every half gallon of water


Combine all the ingredients in a large pot, cook over very low heat, avoiding a boil, for 24 hours. Allow the pot to cool slightly, then remove the broth and enjoy it in soups, sauces or as a daily tonic with fresh herbs and a small amount of salt. The particulate matter is nutritious as well as the clear liquid, but if you like a cleaner look, you can strain out the particulates with a coffee filter or a few layers of cheesecloth. Bone broth will keep for about a week in the fridge, or it can be frozen for later use.

Continuous Slow Cooker Bone Broth

To keep a continuous batch of bone broth going, follow the above recipe using a slow cooker and ladle out a quart of broth. Replace the liquid with water and a few tablespoons of apple cider vinegar and allow the broth to cook for another 24 hours before removing additional bone broth.
Over time, the bones will soften as the minerals and proteins are dissolved into the broth. The qualities of the broth will change too, depending on how long the bones are cooked and what part of the animal they are from.
Picture
0 Comments

Wojape: Sweet Berry Soup

1/8/2015

0 Comments

 
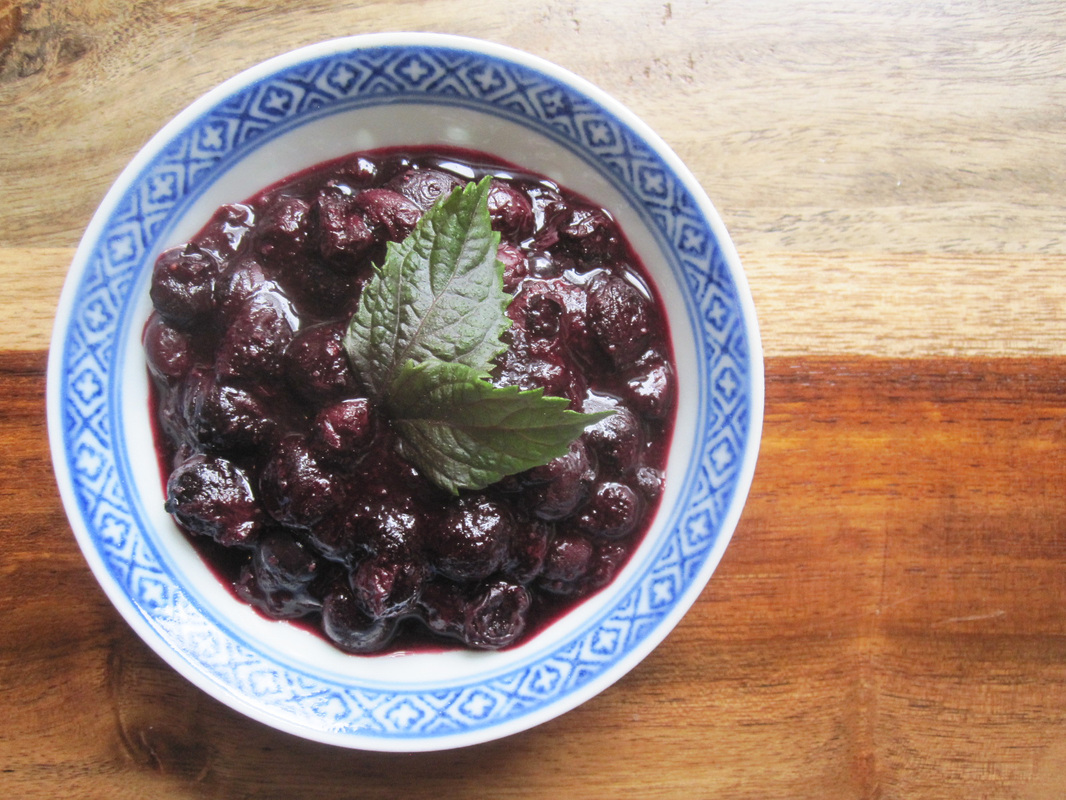
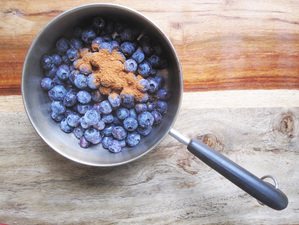
PictureMaking Wojape: Sweet Blueberry Soup
Hello there Sweet Allium!

For the past several months I've been pouring my blogging energy into a number of posts for the ever-charming, ever-creative Evermine blog, sharing what I can about yummy food, herbalism and how to package it all up as beautiful gifts and favors. It's been a great experience to work with the staff at Evermine, and I suspect my ongoing blog projects for both Evermine and Sweet Allium will reinforce each other.

For example, through my work on a few Evermine blog posts, as well as a cool NPR piece about a Lakota chef reinventing traditional recipes, an old family recipe resurfaced for me--wojape: a delicious sweet berry soup. Wojape is also a perfect example of food as delicious medicine.

At my dad's house growing up, wojape was what we'd make on special occasions to top our waffles, something like a fruit compote, but the original recipe is much more refined--a stand-alone berry pudding made of food foraged on the great plains. I remember that my grandmother, who had grown up on the Rosebud Indian Reservation in South Dakota, then in my memory, aged, wheelchair-bound, and without an appetite, came to life when my dad placed a bowl of wojape in front of her at the table.

The original recipe for wojape (or wojapi) calls for chokecherries and used timpsila, a root, as a thickener. These days a common recipe for wojape replaces the chokecherries with dark berries or cherries, adds sugar, and uses cornstarch as a thickener.

I've made my family recipe, akin to the common recipe, too many times to count, but I recently reworked the recipe, with, as usual, an effort to remove sugar and processed foods. Also, because my culinary interests are ever-bending toward diets for diabetes and pre-diabetes, and because so many people in my family and so many Native Americans struggle with diabetes, I couldn't help but lend my herbal knowledge in that direction. The result is a blueberry-based wojape (blueberries are a superfood, for everyone, but also for people with diabetes) that is thickened and sweetened with freshly ground cinnamon (cinnamon reduces insulin resistance and helps to lower blood sugar) with optional powdered maca (maca is an Andean root, food and medicine, known for hormone balancing). Personally, I love the flavor of maca, which is sweet and slightly bitter, and I find it balances out the tartness of the blueberries.

Before a few months ago, I used my frozen blueberries exclusively for smoothies. Smoothies are hot right now, but smoothies are super cold--too cold for me. In these winter months a hot meal is what feels good, so this wojape is exactly what my body seems to want. I love to bring it with me, hot, in a wide-mouth thermos to enjoy it at school or when setting out on weekend travel.

Want to give my revamped wojape a try?

Blueberry Wojape

4 cups frozen blueberries (If you have fresh blueberries, don't be silly, just eat them fresh!)
2-4 tablespoons water
2-4 tablespoons freshly ground cinnamon
2-4 tablespoons maca powder (optional)

Combine the first three ingredients in a small pot over low heat, stirring occasionally. After the berries are completely thawed and the liquid boiled down a bit, remove from heat and stir in the maca powder. Makes 2 servings.


Picture
Blueberry Wojape with Cinnamon and Maca
0 Comments

Cinnamon, Rediscovered

4/17/2014

1 Comment

 
Picture
Behold, friends, an entire post dedicated to the magic that is cinnamon. See, me and cinnamon went way, way back. I thought I knew knew the herb--good ol' cinnamon, you know: tasty with apples, fun in a smoothie, a secret ingredient in a handful of savory dishes, even.

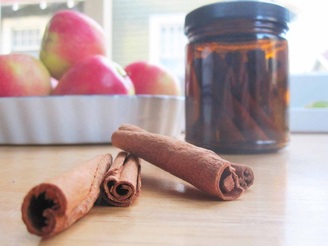
Then came the day I threw a few cinnamon sticks (also called quills) in my herb grinder.
That's when we really met, and I learned that cinnamon is less like a flavor of boxed cereal and much more like
a small fire that burns sweet, a gentle sun ray spiked with electricity, or a languid kitten that dreamily pricks you with its tiny claws. Oh, cinnamon.

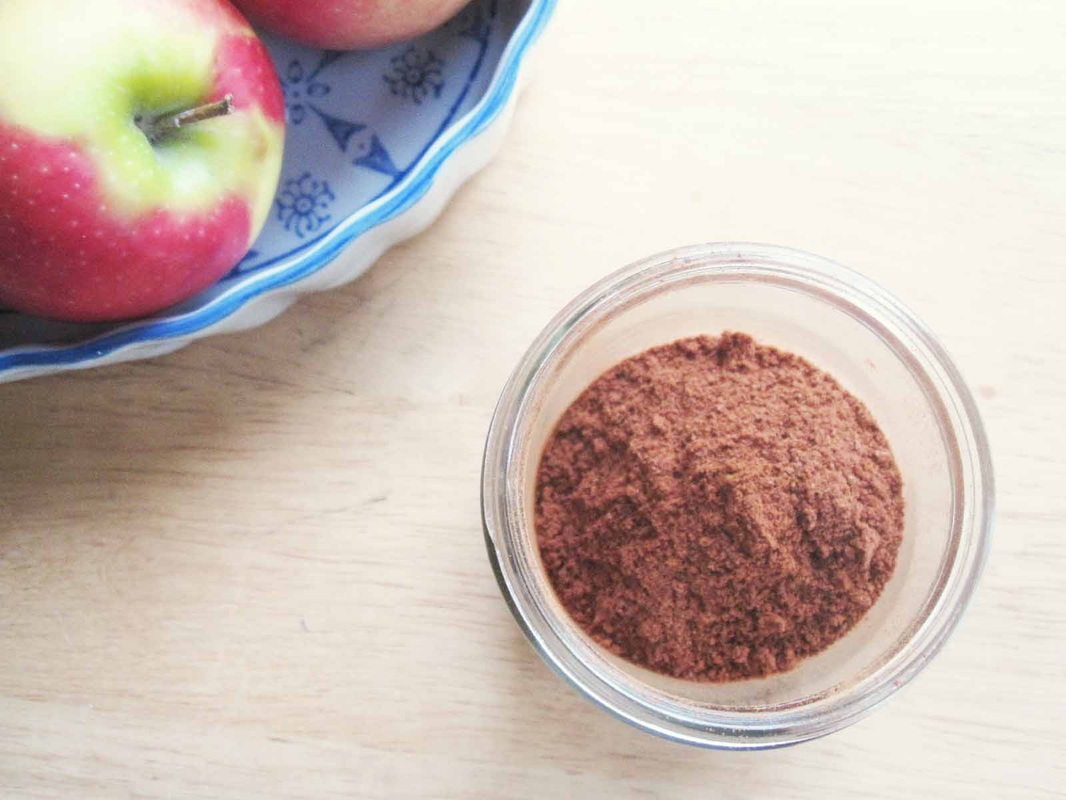
This transformation of the herb from familiar to delightfully powerful and somewhat exotic, is the effect of experiencing the plant in a more complete way. Grinding the herb right before using it eliminates the time that the ground herb sits around, all the while dissipating it's precious constituents directly into the air, or allowing light to break down the herb's natural chemicals. So, maybe cinnamon can serve as an example of how alive these fresh ground spices can be.

A couple years ago, I bit the bullet and bought myself a coffee grinder and dedicated it solely to herbs and spices (no coffee allowed!). The payoff has been all these super sexy new relationships with herbs I used to think were mundane. Mustard seed! Cumin! Black pepper, for crying out loud! Who knew black pepper had floral notes??

Picture
Grinding herbs at home isn't too complicated as long as you have a spice grinder (or coffee grinder, same thing) that you're willing to keep free of coffee beans. Just throw in your spice and press the only button on the machine!

In the case of cinnamon, it's helpful to break up the quills into pieces. Sometimes wedging a table knife into the slits of the quills is the easiest way to break up a tough one.

If I'm being meticulous, I'll wash the grinder between each spice (to avoid contamination of herbs with each other). I've also heard of grinding rice between herbs as a way of "cleaning" the grinder. Do you have any good spice grinder tips?

Picture
1 Comment

Bacon, Feta and Butternut Squash Omlette Muffins

2/27/2014

1 Comment

 
PictureBacon, Feta and Butternut Squash Omlette Muffins
Ok, kids. I've caved. I've become one of those food bloggers who features bacon prominently and probably unnecessarily. It's a bit of a savvy blogging tactic, I think--a little pandering for clicks, perhaps. It's just that bacon is so sexy.

Really though, the meat of this recipe is the fact that it's super low carb, comes in a cozy little package and is very adaptable. As for the bacon, you can take it or leave it.


Variations on this recipe that I've tried include:
  • Roasted Roots with Spicy Italian Chicken Sausage
  • Winter Veggies with Sharp Cheddar and Pecorino Romano
Obviously, this can easily be adapted to fit your diet/lifestyle needs. I've included the pictured recipe, as well as a generic recipe below.

Big thanks to my colleague, Desta Golden, for supplying me with this brilliant low-carbohydrate idea via our Diabetes Management class. Watch out Virginia, Mrs. Golden is headed your way in a couple years!

Picture
Prepped, but unbaked Bacon, Feta and Butternut Squash Omlette Muffins
Serving Size: 2 muffins
Carbohydrates: 7g
Fiber: 1g

Bacon, Feta and Butternut Squash Omlette Muffins
(GF, low lactose, low GL)

3 bacon strips, uncooked, chopped
1 small onion
5 eggs, beaten
2 tablespoons plain whole milk yogurt
black pepper
nutmeg
3/4 cup butternut squash, cubed and roasted with salt
1/4 cup feta cheese, some reserved for topping (I used goat milk feta)
2 tablespoons pumpkin seeds

Preheat the oven to 350˚F. Fry the bacon and onions together until the bacon is fully cooked and the onions are clear or slightly browned. While they are cooking, combine the eggs, yogurt, black pepper and nutmeg and whisk together until completely incorporated. Fold in the squash and feta and set aside. Grease 6 muffin cups with butter or coconut oil, then spoon the cooked onions and bacon, pour the egg mixture over this until the liquid almost fills each muffin cup. Top with the reserved feta and the pumpkin seeds and pop this pretty mess into the oven. Bake until the tops are golden and the center is springy, about 20-30 minutes.


Omlette Muffins: Choose-Your-Own-Adventure Style (GF, possibly: vegetarian, low GL, lactose free)

5 eggs, beaten
2 tablespoons plain whole milk yogurt
black pepper
nutmeg
1 cup cooked veggies (pick your faves!)
1/4 cup cheese, some reserved for topping (completely optional)
2 tablespoons chopped nuts or seeds for garnish (optional, but why not?)

Preheat the oven to 350˚F. Combine the eggs, yogurt, black pepper and nutmeg and whisk together until completely incorporated. Fold in the veggies and/or cheese and set aside. Grease 6 muffin cups with butter or coconut oil, and fill them 7/8ths full with the egg mixture. Top with the reserved cheese, seeds or nuts and pop this pretty mess into the oven. Bake until the tops are golden and the center is springy, about 20-30 minutes.
Picture
Bacon, Feta and Butternut Squash Omlette Muffins, just begging to be eaten
1 Comment

Deli-Style Nutmeats: chorizo and finocchiona nut sausage

2/19/2014

0 Comments

 
Picture
Let's ruminate on fake meats for a moment. Depending on the brand, they're either outlandishly pointless or, actually, kind of tasty. Aside from picking out the right package from the freezer section, the other tricky part about fake meats is that they are very processed, forcing vegetarians, vegans and a few fake meat lovers into a quagmire of gums and modified starches if they just want some good salty spice and a decent mouthfeel. Despite these potential pitfalls, sometimes a girl just wants some non-meat chorizo, am I right?

Well, here’s a sweet DIY vegan and gluten free nutmeat that's full of protein and flavor, made only from real, down-to-earth ingredients--in two traditional sausage flavors: chorizo and finocchiona. The fun and challenge of this cooking project is that it requires some elbow grease. Soaked nuts and simmered mushrooms are muddled to get the right meat grinder texture. But it's ok, the exercise and the ensuing protein-packed meal will put you on track for some bangin' triceps.

Deli-style Nutmeats (Vegan, Gluten Free, Low Glycemic Load)

6 cups water
1 cup almonds
1 cup cashews
3 tablespoons salt
1 lb mushrooms (any kind)
Spice mix (choose one from below)
3 tablespoons apple cider vinegar
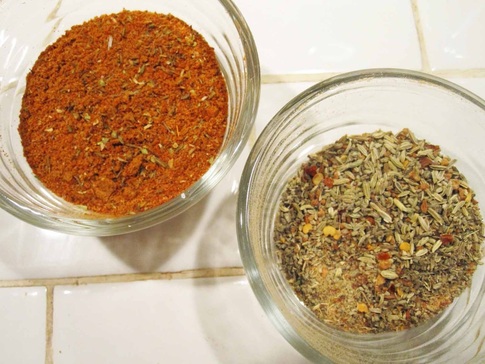
Chorizo Mix
1 tablespoon cumin, ground
1 teaspoon coriander, ground
5 whole cloves, ground
2 bay leaves, ground
1/2 teaspoon black pepper, ground
1/4 teaspoon cinnamon, ground
1/2 teaspoon oregano
1/2 teaspoon thyme
1 tablespoon powdered garlic
2 tablespoons paprika
1/2 teaspoon cayenne powder
2 teaspoons sea salt

Finocchiona Mix
2 tablespoons fennel, crushed
1 tablespoon powdered garlic
1 tablespoon rubbed sage
1 teaspoon black pepper, ground

1/4 teaspoon red pepper flakes
1 1/4 teaspoon paprika (for color)
2 teaspoons sea salt
Picture
Picture
Start this recipe at least 6 hours ahead of time by soaking the almonds in the water and salt. After two hours, add the cashews and soak for a few more hours, (but no more than 6, or the cashews will get a little slimy). Slice the mushrooms finely and simmer until they are limp. Add the drained nuts to the simmering mushrooms and reduce until almost all the water evaporates.

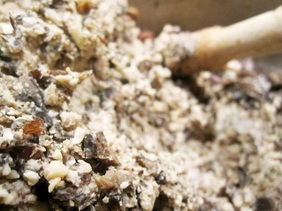
Next, roll up your sleeves, get out your muddler, and muddle those bad boys until you get a sticky consistency that looks a little like ground meat. This step takes some dedication and it's ok to take a break. When you've muddled the whole batch, give yourself a high five, and incorporate the spice mixture and the apple cider vinegar into the muddled nuts.

Picture
Use these nutmeats anywhere you would use sausage--nacho topping, squash stuffing, taco building, frittata filling--you get the idea. They brown nicely in a frying pan, but won't hold together like a sausage patty.

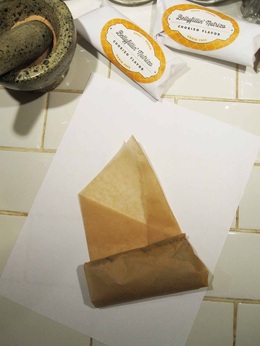
To save for later, divide quarter cup portions of the nutmeat and wrap these little morsels in parchment paper. Sealed in a plastic bag, these nut sausages will last months in the freezer, and are super handy for  tasty last-minute meal ideas.

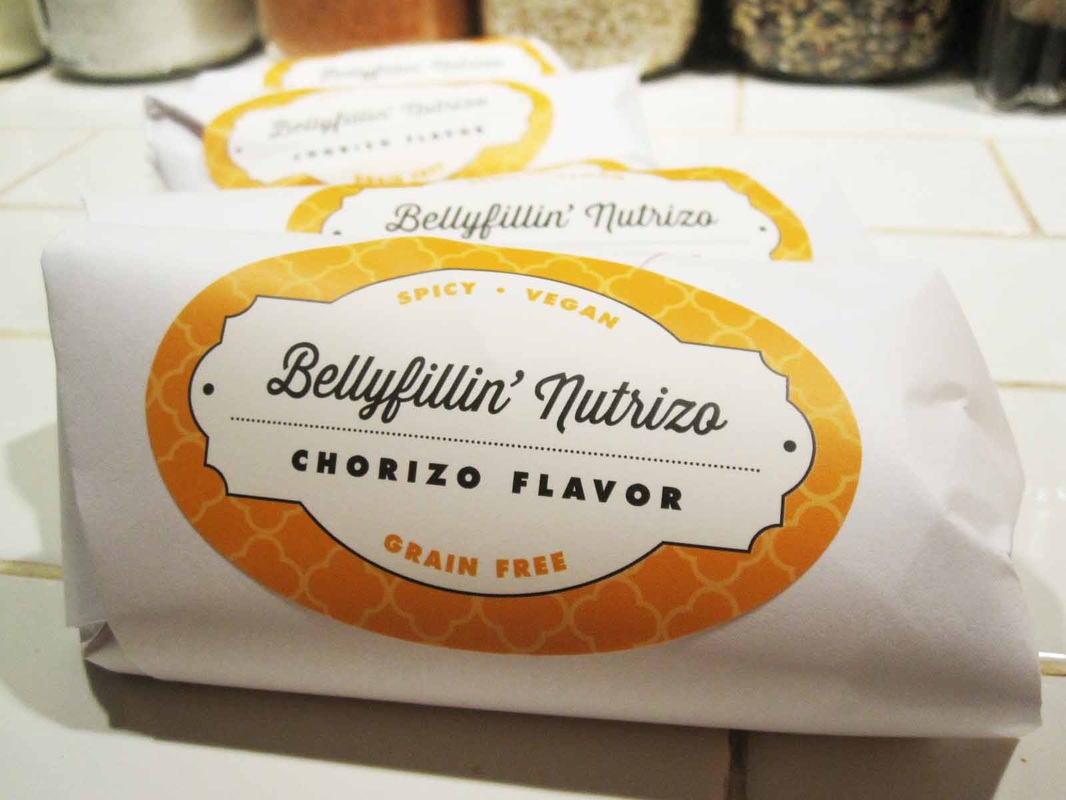
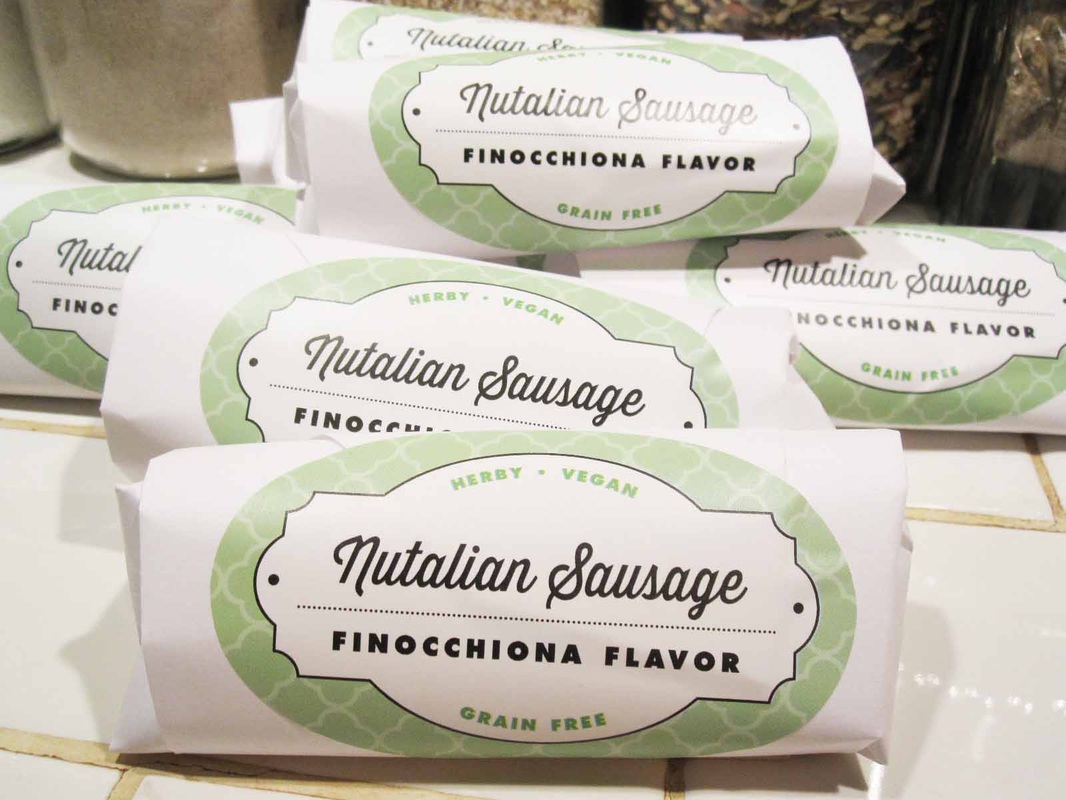
I packaged these up into pretty gifts that look fresh from the neighborhood deli, by using parchment paper, printer paper and some rad custom labels from a sweet Portland-based company called Evermine (which also happens to be the entrepreneurial pride and joy of my parents, Jeanne and David).

Picture
0 Comments

Stunning Pumpkin Tart

11/21/2013

0 Comments

 
Picture
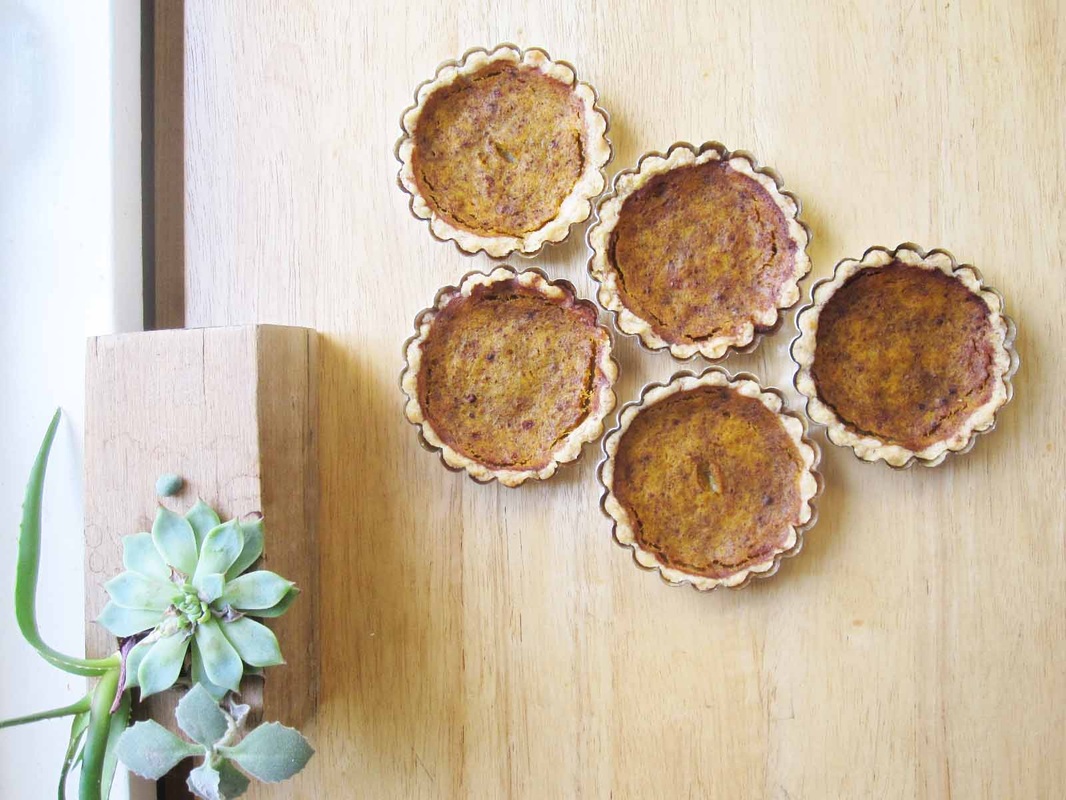
Pumpkin tarts making friends with the succulents
PicturePumpkin Tarts
I signed up to contribute pumpkin pie to two thanksgiving gatherings this year, so, perhaps predictably, I embarked on the challenge to make a stunningly delicious pie AND make it gluten free and dairy free. This means I've been eating a lot of trial pies, which has been super fun.

At this point, it really is no big deal to make a delicious dairy free pumpkin pie filling and a suitably delicious gluten free crust. Old news. But when making my first trial pie, I made a mistake by doubling the water in the pastry recipe--the dough was pasty and weird--but I forged ahead with the experiment. What came of it was
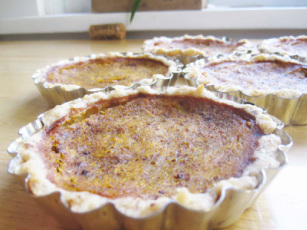
a crust that walks the line between chewy and crunchy, along with, of course, the delicate saltiness and coconut undertones of the original GF DF pastry crust. My kitchen bystanders loved it, and I did too; I found myself at times mining a trial pie or or three just for the crust.

So, yes, the crust is something pretty stellar (as long as it's fully cooked, I've learned) but I mention it without meaning to detract from the filling, which is fabulous on its own: spicy, lightly sweet and very compact in flavor. I think it's best to think of this filling and pastry as a tart rather than a pie. Don't expect a flaky, buttery crust and a plethoric, custardy filling, which would be consistent with pie. Instead, ready yourself for a dainty few bites, consisting of a compact, spicy filling in a chewy cookie-like shell--a tart!

Here's how to do it at home:

Stunning Pumpkin Tart
(Gluten Free, Dairy Free)

Filling:
3 tablespoons coconut oil
3 cups roasted squash
3 eggs
1 3/4 cups almond milk (or any kind of milk)
1/3 cup sugar
1/2 teaspoon salt
1 teaspoon vanilla
3 teaspoons fresh ground cinnamon
1/2 teaspoon fresh ground nutmeg
1/2 teaspoon fresh ground cloves
1 teaspoon ground ginger

In a small heat-safe bowl or pan, gently heat the coconut oil. (I like to heat the oil in a stainless steel measuring cup in the oven, but I suppose a small pot on the stove over gentle heat would work too) While the oil is heating, combine the squash, eggs, milk, sugar, salt and vanilla in a big ol' mixing bowl. Into the warmed oil, add the spices and stir to make sure there are no air bubbles. Whisk the spice and oil mixture into the squash until fully incorporated.* Set this filling mixture aside while you prepare the pastry.

*Most likely, the coconut oil will harden when it comes in contact with the cool ingredients in the pumpkin mixture, so our goal is to have it harden in small droplets that are evenly distributed in the batter.

Pastry:
1 tablespoon ground flax seeds
1/2 cup water
1/2 cup white rice flour
1/2 cup tapioca flour
1/4 cup garbanzo bean flour
1/2 teaspoon salt
1/2 cup coconut oil

Start off by soaking the ground flax seeds in the water and set aside. Combine the flours and salt in a heavy mixing bowl, then cut in the solid (room temperature) coconut oil with a couple opposing knives or a pastry cutter. Press out the biggest chunks with a fork against the side of the bowl, so that the flour and oil mixture resembles a coarse cornmeal. Add the water and gently incorporate it into the flours until you draw the mess together into a ball of dough.

This is where you'll start to doubt your measuring, or my recipe--it may be very sticky, perhaps unlike any other pastry dough you've made. It's ok though; do your best to gently mix the dough into a uniform texture and then paint/spread it thinly onto the inside of tart tins or tart ceramics or, if you must, pie plates.

Fill the tarts until there is just 1/8 of an inch of exposed pastry, pop 'em in the oven and bake at 375 ˚F until the exposed pastry becomes golden, about 30-55 minutes, depending on the size, shape and material of your baking dish.

0 Comments

Scary Good Habañero Sauce

10/22/2013

0 Comments

 
Picture
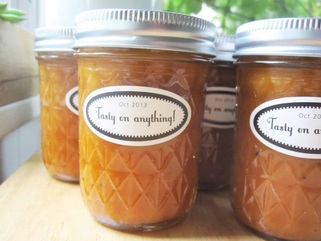
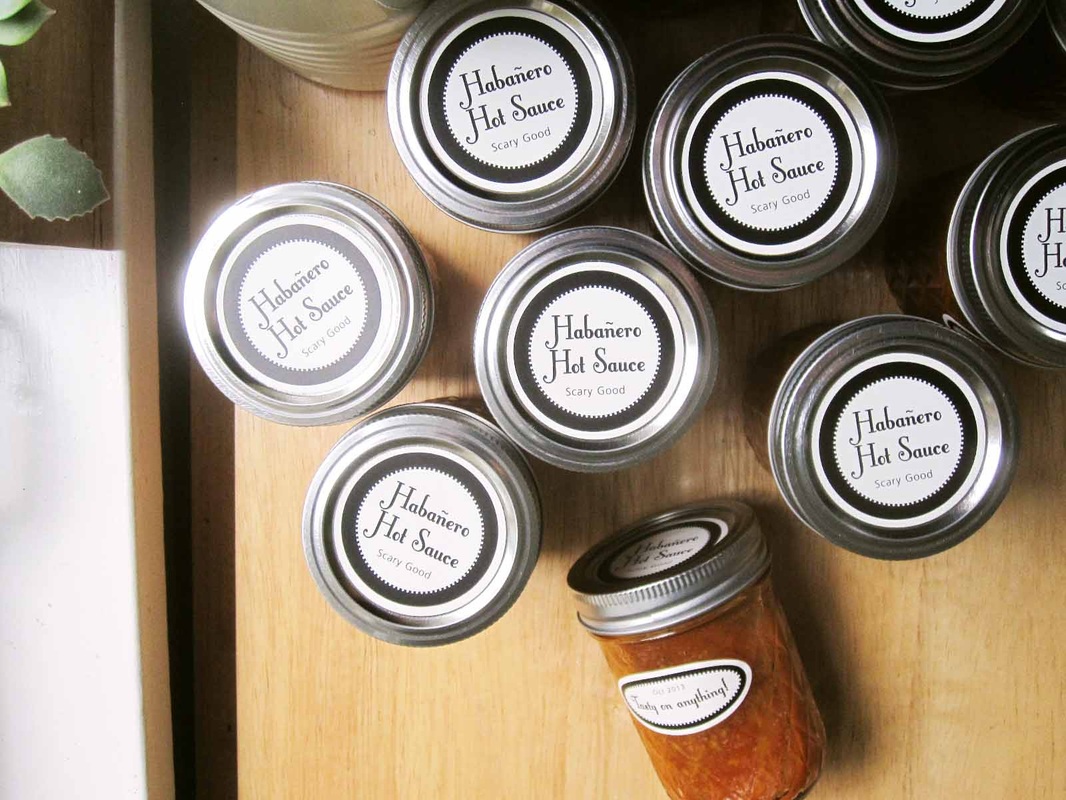
Well friends, I wouldn't have expected it, but its been over a year since my ode to hot sauces at my old blog, and it seems the sauces making their way out of my kitchen have come a long way. Last week I shared my long time favorite green salsa, Creamy Tomatillo Salsa, and this week, we're looking at a Halloween-y habañero.

 A friend introduced me to this bright orange habañero sauce and recipe, which he found nestled among other gems, I'm sure, at the self-respectingly self-deprecating, refreshingly unfrilly blog, foodpeoplewant.com. As long as you're into the heat, this sauce is the whole reason to keep eating whatever you put it on. Also, it was modeled after the ubiquitously loved habañero sauce by Portland's own Secret Aardvark, which is kind of saying a lot.

I adapted the recipe by dialing down the sugar in exchange for amping up the carrots and adding a yam. Also, less water means we can add less vinegar; and why bother with prepared mustard when we can go straight for some vibrant mustard seed powder? The end result is just as sultry, with a little more body, for folks who aren't shy of heat that you can slather on.

Scary Good Habañero Hot Sauce (GF, vegan)

1 can (14.5 oz) of diced tomatoes, including juice
1 cup apple cider vinegar
2 cups of peeled and grated carrots (packed into the measuring cup)
2 cups of finely diced white onion
2 tablespoons mustard seed powder
1 1/2 cups shredded Yam
9 habaneros, seeded
1/2 head garlic
2 teaspoons salt
1 teaspoon of black pepper
2 teaspoons curry powder
1/4 c honey (or sugar)
1 cup of water or just enough to cover

Throw all of the ingredients in a pot and simmer for 2-3 hours until all the veggies are soft and the flavors are well mixed. Unceremoniously, throw this thick soup into a blender and let 'er loose--blending to your liking. Jar it up and share with friends!

Picture
0 Comments

Salvaging Summer

7/9/2013

0 Comments

 
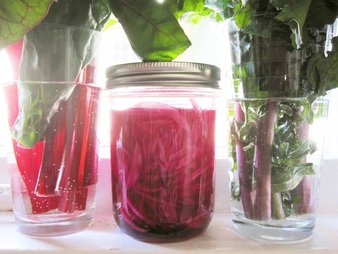
PictureSummer greens and quick pickled onions
With the end of the school year, I imagined July would bring ample leisure time--days filled with musing over which dish to bring to a barbeque and afternoons of gazing at clouds from a bed of perfect green grass. Instead, as I realize retrospectively every year, the pace of life quickens as the days get longer; a frenzy of projects and parties pulse through the hours as a languid sun procrastinates on its time-keeping duties. For me, life has aggressively filled my young summer schedule with some exciting developments:
• a new nephew! -and a fun medicine making project (ask me about it, I'll send you pics!)
• a move! -with my sweetie to a fabulous 1914 duplex which is, by chance, across the street from my kindergarten playground
• a massage business! -as promised on my About page, I've earned a massage therapy license in the state of Oregon (#19748, in case you're curious) and I'll soon be offering professional shiatsu massages. More on this coming soon!

What I really wanted to tell you today, though, is that I've been busy, and I've had to employ some of my favorite tricks for salvaging neglected summer vegetables. I thought maybe we could share tips. Sound good?

Here are a couple of mine (pictured above).

Liven the Greens
Wilty summer greens can be brought back to life by cutting off an inch or two of the stems under cold running water, and then placing them in a glass of water, like a bouquet of flowers. They'll liven up within a day, but use them soon after that or they will start to turn yellow or wilt again. If you have space to spare in the fridge, storing them in a glass of water will give them days of extra life.

Quick Pickled Onions
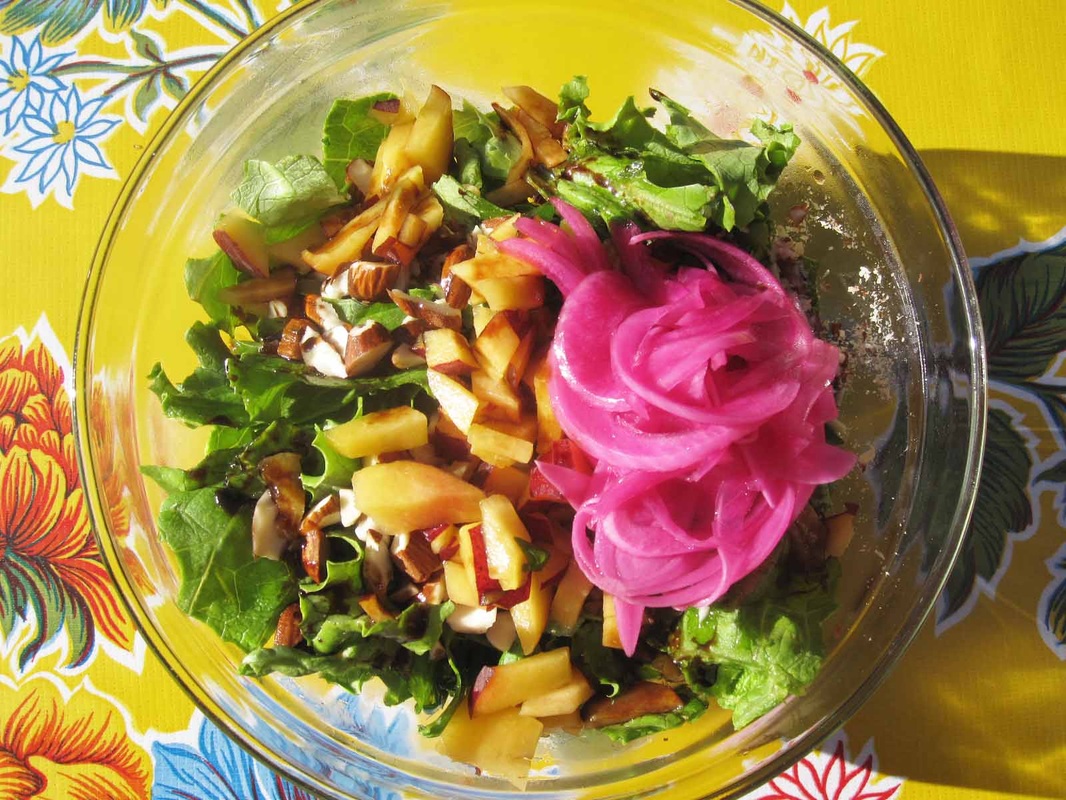
I just discovered this super easy way to avoid moldy onions, which are perhaps one of the saddest and most common kitchen tragedies that I see. Before the onion starts to go bad, slice it and submerge it in leftover sweet pickle juice--liquid from pickled beets in this case. This is a whole new way to do onions! So delicious! I enjoyed these ones on a couple sandwiches and a jaunty little dinner salad.

Holler if you have any super simple summer produce salvaging tips. I'd love to hear them!

Picture
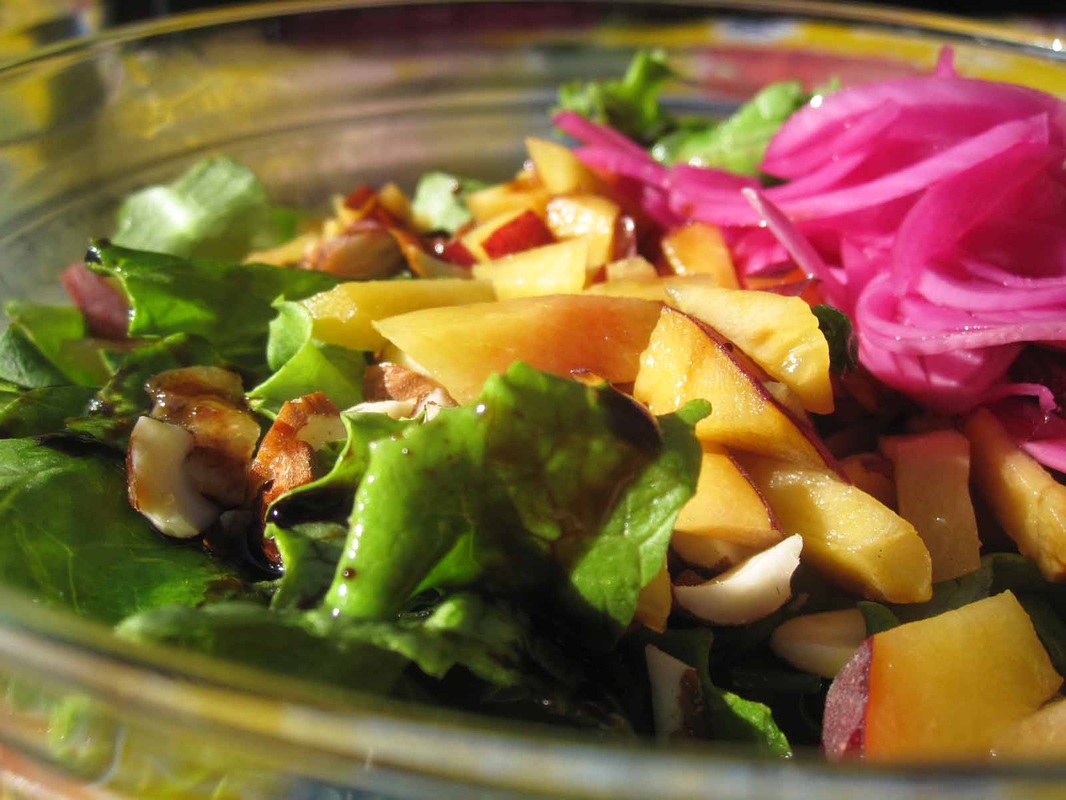
Summer salad: quick pickled onions, almonds and almost-ripe peaches on a bed of lettuce with viniagrette
Picture
0 Comments

Simple Summer Slaw with Chutney

6/18/2013

0 Comments

 
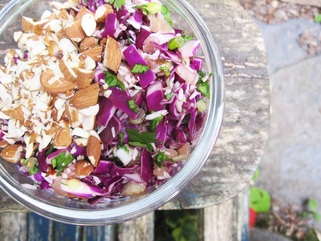
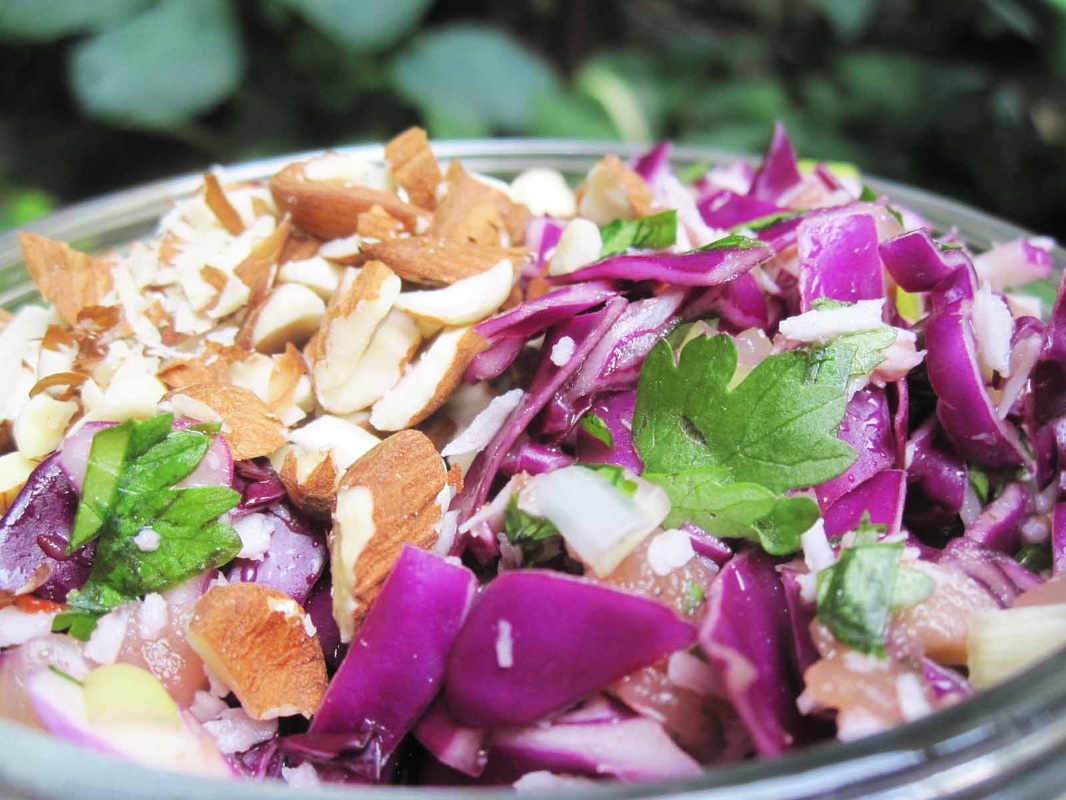
PictureSummer Slaw: cabbage, chutney, coconut, onion, cilantro, nuts
Happy almost-solstice everyone!

In honor of summer, I've crafted another delightful picnic or barbeque side dish. I'm a big fan of this recipe because it is fresh, holds together well for a day or two in the fridge, and has a creaminess to it, without any dairy, expensive coconut milk or complicated nut pureé. Also, its an easy recipe to throw together, because the chutney takes care of all the complicated flavor work.

Simple Summer Slaw with Chutney (GF, lactose free, vegan)

3 cups red cabbage, chopped
1/2 cup chutney*
1/3 cup unsweetend shredded coconut
2 green onions, minced
A handful of cilantro, minced (optional)
1/2 cup sunflower seeds, pumpkin seeds or chopped almonds

Combine the cabbage, chutney, coconut, onions and cilantro. These guys can hang out together all day or in the fridge overnight, depending on how crunchy or soupy you like your slaw. I like to keep the nuts/seeds separate until serving time so they still pack some crunch. Top the slaw with the nuts or seeds as a garnish and serve. This recipe will serve 4-6 as a side dish.

*storebought chutneys are likely to have a lot more sugar and salt, so you may need to use less of them in this recipe. Check out the fabulous lower-sugar chuneys here at SweetAllium!

Picture
0 Comments

Nothing Cookies

5/21/2013

0 Comments

 
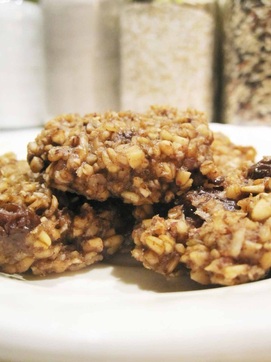
PictureGluten free, sugar free, dairy free, vegan cookies
My mom says that life is too short to waste on ugly cookies, but lately, especially after learning about the influences on our biochemistry of sugar, gluten and the glycemic load of some foods, I've been thinking that maybe life is too short to waste on cookies at all. I can think of at least a few things in life that I like way more than cookies.

Even so, I'm especially vulnerable to a good old fashioned cookie craving. It's familiar territory and I succumb to it more often than I'm proud to admit.

My solution? I made a cookie with nothing in it. I'll wean myself from these unhealthy habits with Nothing Cookies!

Obviously, they're not made of nothing because, there you see them right before you (Upper left, see? They're giving you a friendly wave now.). These cookies are gluten-free, sugar-free, dairy-free and vegan, which makes it sound like there must not be anything in them. But, actually there is stuff in them, and these things are pretty gosh-darn awesome, especially in regard to blood sugar regulation.

Replacing flour with steel cut oats reduces the glycemic load of the cookie, which means it won't make your poor liver and pancreas perform acrobatics around each other to manage the sweetness in your belly. Instead of sugar, banana is used, which admittedly has quite a lot of sugar itself, but at least it comes with a bunch of vitamins and minerals especially vitamin C and B6. Almond butter, here used as the oil source, endows the cookie with the protective powers of nuts, which have been shown to reduce the risk of type II diabetes when eaten regularly. Cinnamon is used by herbalists, Naturopathic doctors and in some nutriceuticals to help the body balance blood sugar. I used raisins out of convenience (which also unfortunately have a pretty high glycemic load), but a superfood cookie would instead don dried berries, like blackberries or blueberries, which are full of antioxidants and are suspected to help out with blood sugar balance.

Of course, eating these cookies as second lunch isn't going to help anyone's blood sugar. I think of it as training wheels--when I'm about to cave and reach for a sugary snack, having one of these around could save the day.

Nothing Cookies

4 super ripe bananas
1/2 cup almond butter (I suppose you could use peanut butter, which would make it a very peanutbuttery cookie.)
1/2 cup raisins or dried berries
1/2 teaspoon vanilla
2 teaspoons freshly ground cinnamon
1 teaspoon baking soda
1/4 teaspoon salt
2 cups steel cut oats
1/2 cup coconut

Mash the bananas in a bowl until they become syrupy, add the almond butter, vanilla, cinnamon, baking soda and salt with the bananas and combine. Mix in the oats and coconut. Press this dough onto a baking sheet covered by parchment paper. Bake until the cookies are slightly golden at the edges, 15-20 minutes, at 350˚F. Freeze for emergencies.

0 Comments
<<Previous

    Author

    Lorraine Ferron is a medical student, writer, and food lover. Read more about her at SweetAllium's About page.

    Archives

    August 2014
    May 2014
    April 2014
    February 2014
    November 2013
    October 2013
    July 2013
    June 2013
    May 2013
    April 2013
    March 2013
    February 2013
    January 2013

    2011-2012

    Categories

    All
    Classical Chinese Medicine
    Gluten Free
    Herbal Preparations
    Herbal Preparations
    Lactose Free
    Low GL
    Low Glycemic Load
    Medicinal Herbs
    Med School
    Naturopathic Medicine
    Recipes
    Vegan

    RSS Feed

    Blogroll

    thelocalspoon
    101 cookbooks
    Licking the Plate
    wild heart medicine
    Maximum Wellness
    BeKindTellTheTruthEatGoodFood
    Our Global Kitchen
    HellaDelicious
    Nectar
    Not Without Salt
    Civil Eats
    Edible Portland
    Smitten Kitchen

Powered by Create your own unique website with customizable templates.