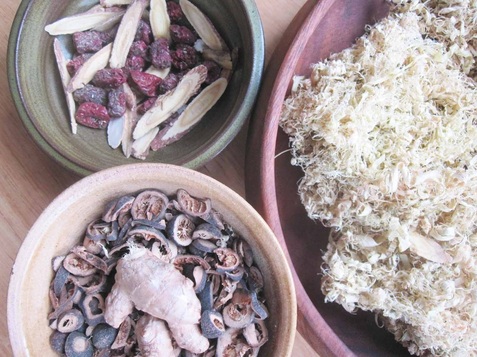
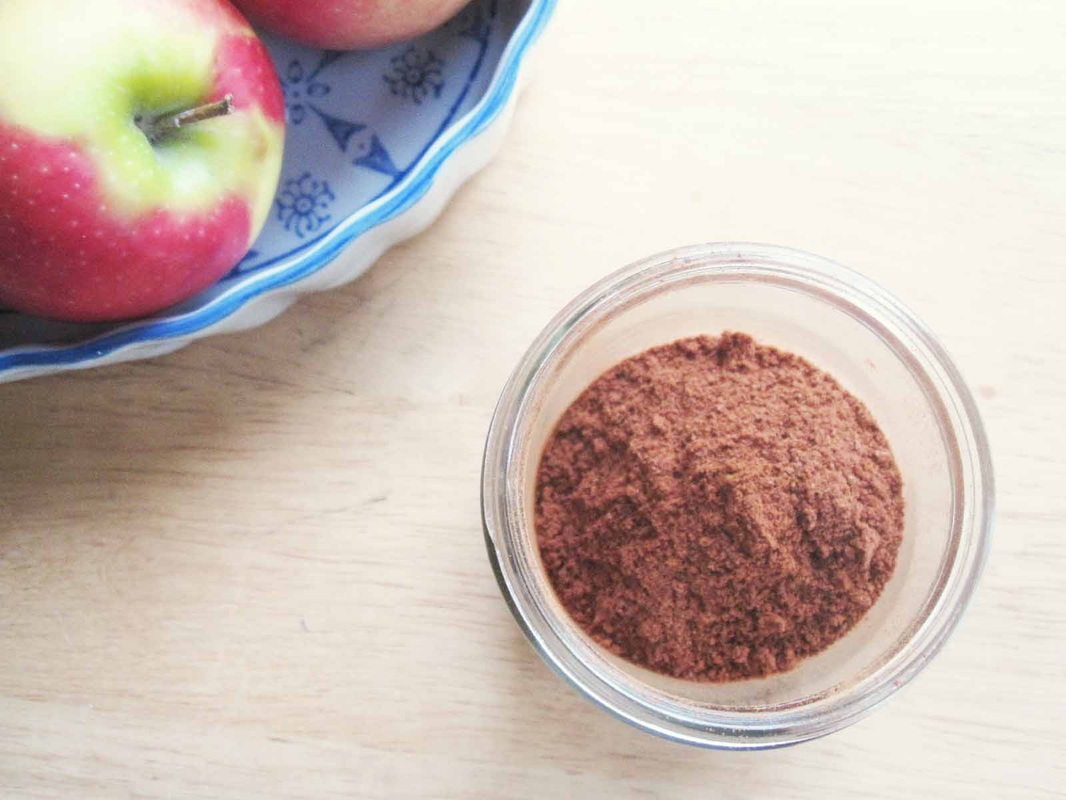
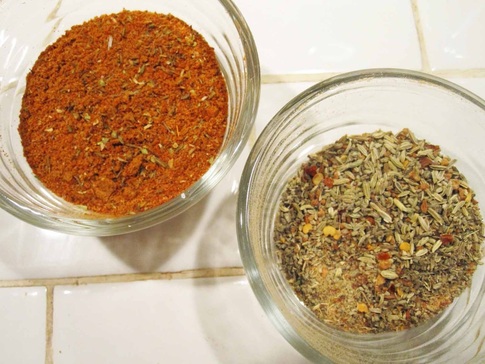
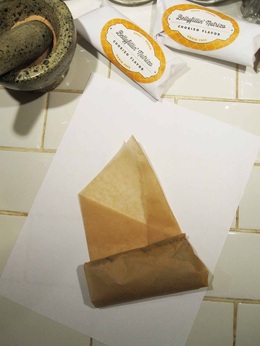
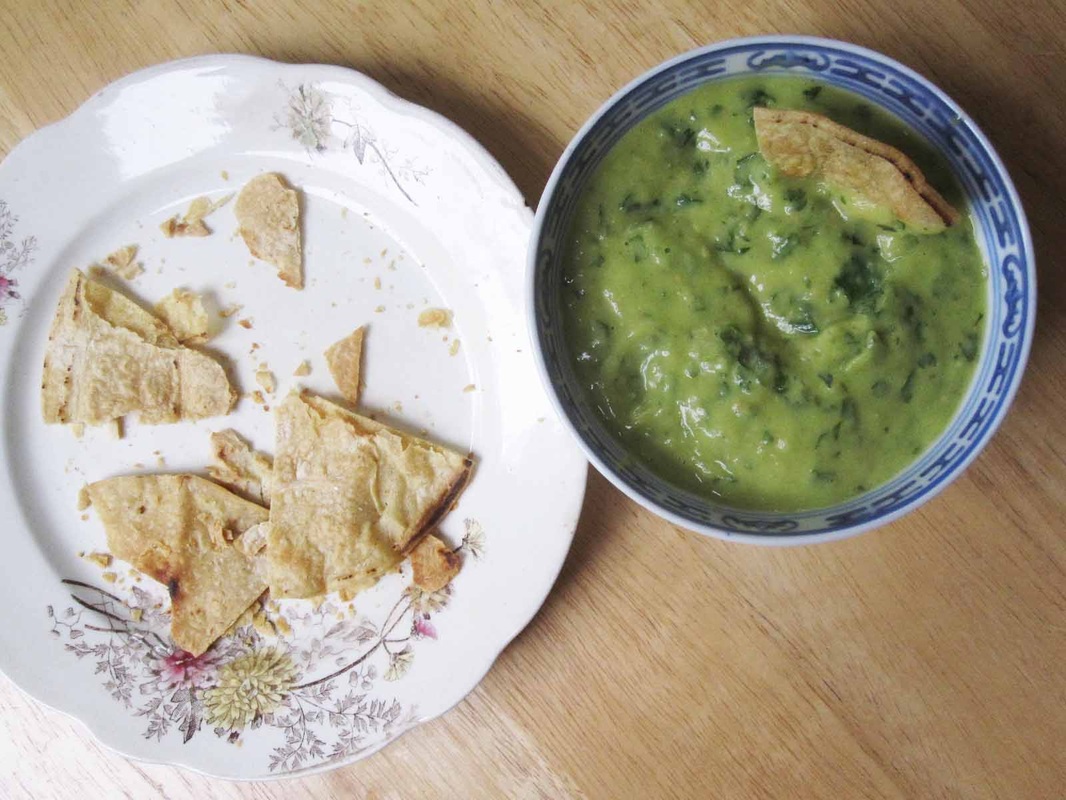
 Ju Pi Zhu Ru Tang ingredients
 Well, we're midway into the third year of our dual-degree program, and my cohort and I have just started to get underway with our studies of classical Chinese medicine. I'd say there's a smattering of excitement and a generous amount of awe of the medicine. As a group, my classmates and I are adorably awkward and humble as we try to practice some of the wildly un-Western concepts. So far, one thing is for sure: it's a ridiculously beautiful medicine. Let's indulge in a little of it's beauty, shall we?
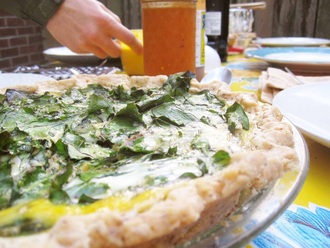
For a recent assignment, I was asked to prepare a classical Chinese medicinal formula. You know, a recipe from a 1800 year old book. No big.
I got to choose the formula that I would prepare, but given how little I know about classical formulas, selecting my recipe was a lot like throwing darts, especially with my aim. I ended up working with a charming interplay of herbs found to "govern" in cases of, as my instructor put it, "stomach qi rebellion", a charming way of implying conditions where stuff moves upward from the stomach, as far as I can tell, like hiccups, belching and (what are the kids saying these days?) Ralphing?
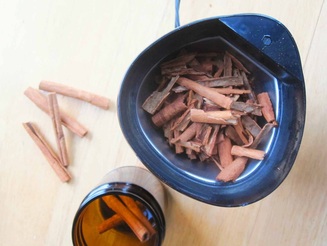
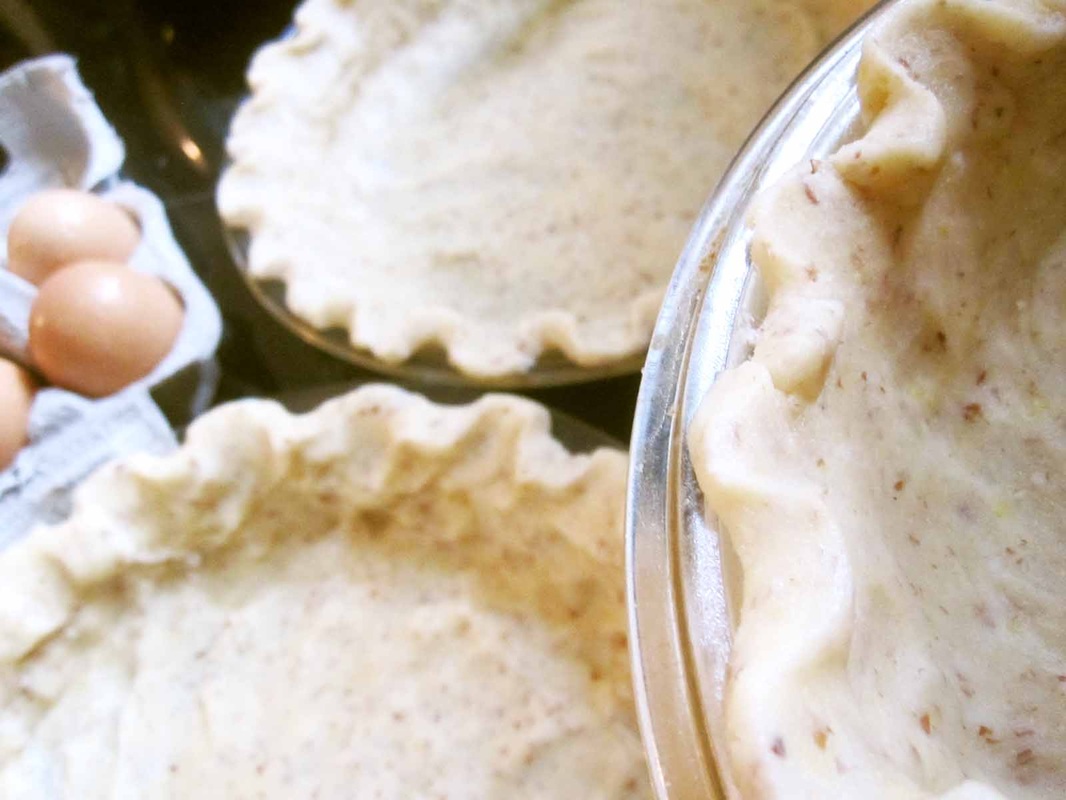
Despite its ancientness, my recipe included some familiar herbs: tangerine peel, licorice, ginger and a few others, including bamboo! Bamboo, the familiar, yet super hip, boringly zen member of the grass family. Famous in certain thai curries, as an eco-friendly building material, and sometimes, as a most stubborn and aggressive garden weed. How fun to get to know it as a medicine too.
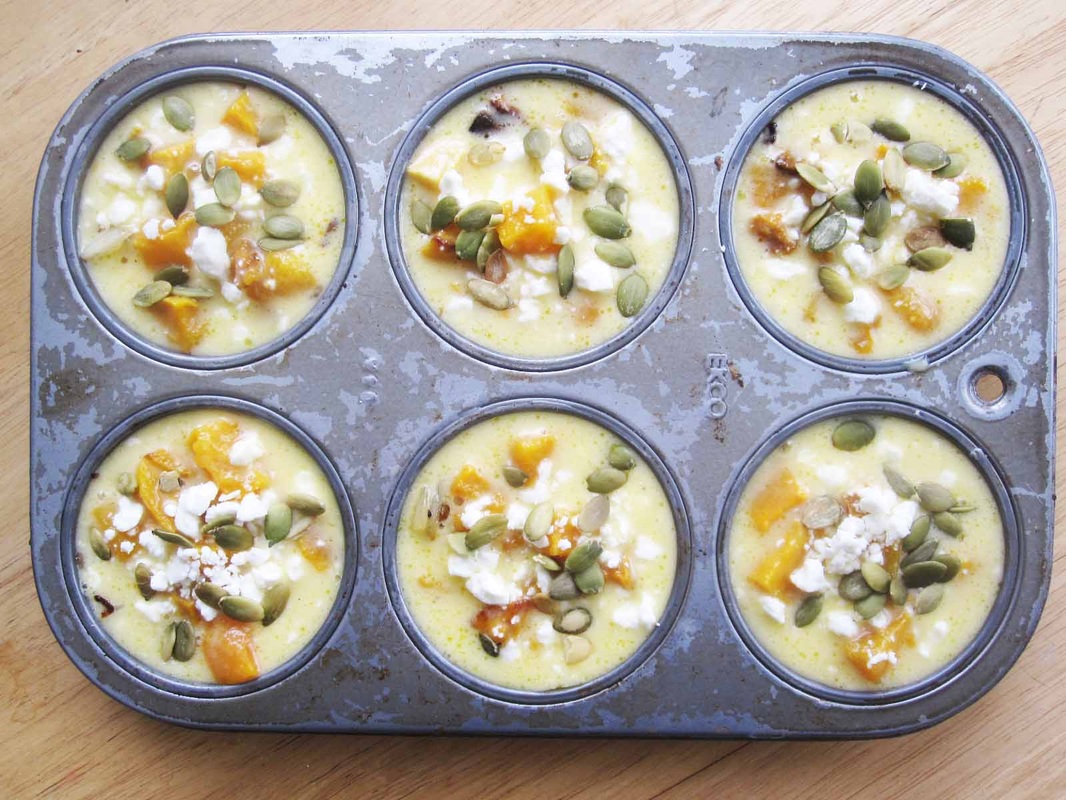
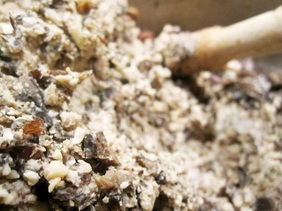
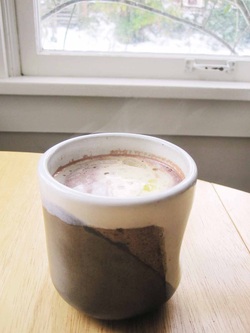
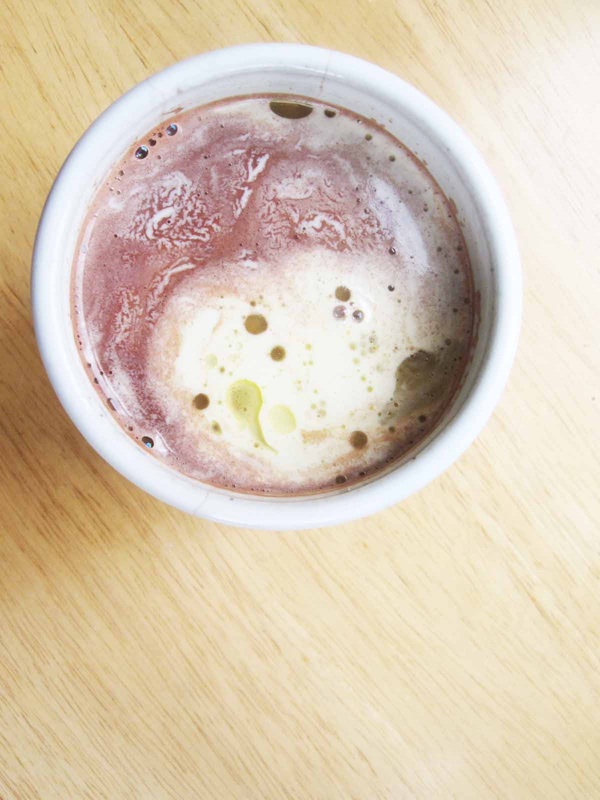
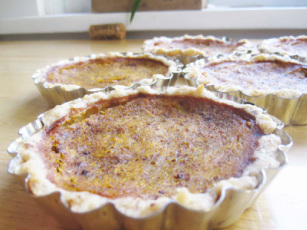
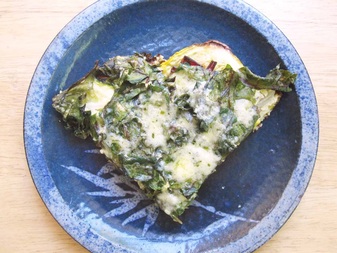
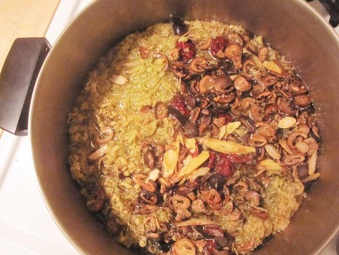 Ju Pi Zhu Ru Tang ingredients decocting (boiling).
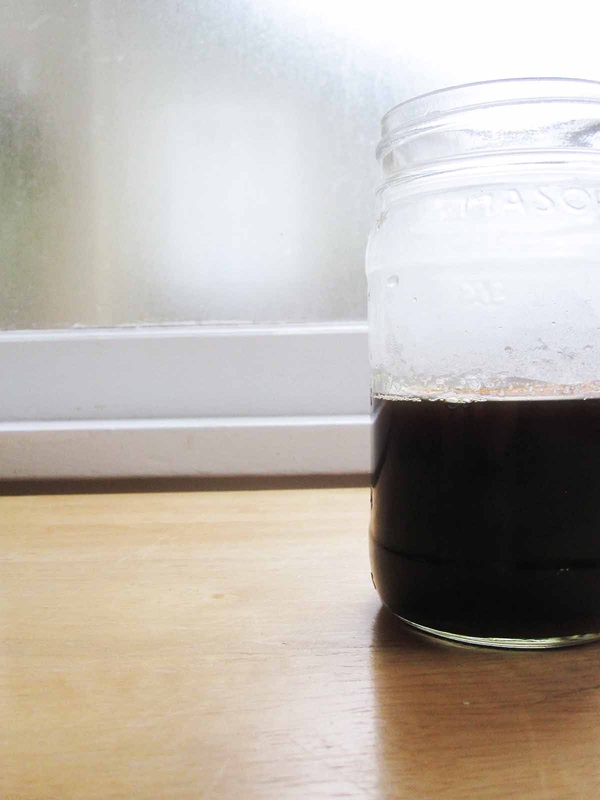
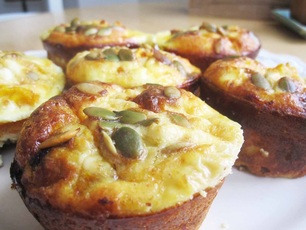
 Our instructions for the assignment were to make the medicine exactly according to the original recipe. This one is a decoction, meaning the herbs are boiled for a particular amount of time. Here it is boiling away. Forty-five minutes of this, yielded a dark, slightly sweet, slightly smoky, very concentrated ...elixir, shall we say?
Ju Pi Zhu Ru Tang: Tangerine Peel and Bamboo Shavings Decoction

 RSS Feed